

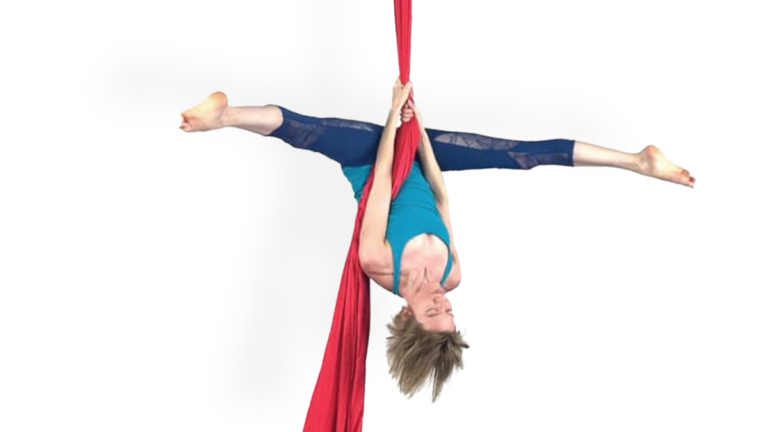
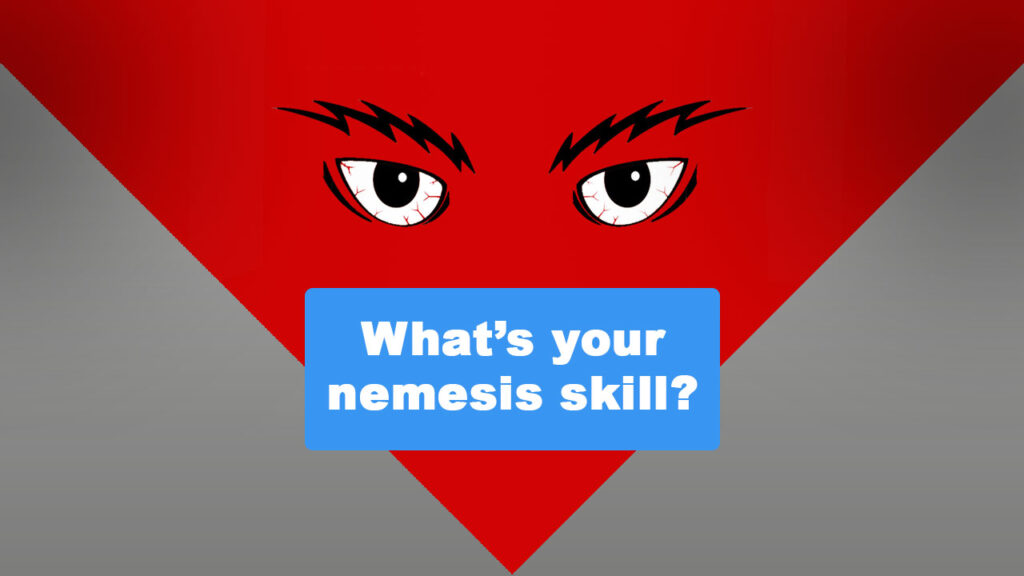
If you train aerial long enough, you will definitely come across a skill that you know you should be able to do, but… just… can’t. This doesn’t mean you’ve hit your peak ability or that you are a bad aerialist. It is normal. So normal, we have a name for it. We call them nemesis skills. And the good news is, if you want to put some extra time and energy into it, you can make these skills work.
Nemesis skills are not just skills you want to do really bad, but that you can’t do. There are certain characteristics that qualify a skill as a nemesis skill. And we use a slightly different teaching method to unlock them.
We use the following qualities to help students understand if they are dealing with a nemesis skill and need to change things up or if they are just struggling with a hard skill and they just need to trust the method.
Qualities of a nemesis skill:
Aerial is hard. That is why it is worthy of our time and energy and so empowering when we complete new skills. Everyone struggles and hits road blocks, but just because a student is struggling with a skill doesn’t necessarily make it a nemesis skill.
The following are not qualities of a nemesis skill:
Almost every student will work hard at this skill. It requires strength, timing and coordination. Also, normal differences in anatomy can make inverting harder for some than others. So, inverting is notoriously hard, but that doesn’t mean it is always a nemesis skill. It only becomes a nemesis after students have worked through all of the progressions, related skills and drills, and still aren’t making progress. In our curriculum we have hundreds of skills and drills that we use to build strength and understanding.
Any skill can end up being a student’s nemesis. The nemesis skills don’t reflect their ability or aerial intelligence. They don’t say anything about the quality of the teacher or the aptitude of the student. They just are, and that is fine, but it doesn’t mean we have to give up on them.
Scroll down to see our approach to teaching through nemesis skills.

If it is truly a nemesis skill, then it may be time to change things up and try a new teaching approach. Eventually there is some truth to the old adage about always doing the same thing and expecting different results.
We offer Nemesis November workshops for our students and private lessons throughout the year to work on nemesis skills. You can also read about how one of our teachers and Aerial Fit Online contributor Lindsey Morgan worked her way through her nemesis skill Flag during one of our Nemesis November Workshops.
We will get into what we teach in our workshops in a moment, but there is another very valid approach to solving a student’s nemesis skill. And that is giving the problem to some one else getting help from someone else. 😊
Sometimes students just need to hear the same thing from another voice and different words. Or, see the same demo on a different body. It is fairly common for a student to hear or see something for the first time from a different instructor even if you’ve personally told or shown them the same thing a thousand times. This doesn’t mean we are bad teachers or the other teacher is better, it is just a fact of a teacher’s life.
Cross training is always a good thing for aerialists and a good way to get help from someone else. It can be cross training on different apparatuses with a different instructor. Or going to yoga classes, or working with a personal trainer at the gym. We have had students have breakthroughs after working on different movement modalities, even things that may not have much obvious overlap like swimming.
Unfortunately, it is possible for students to spend a lot of time on their cross training and never get to the weird muscles, unusual pathways, or subtle coordination that we need to complete a nemesis skill. Cross training is definitely great for overall improvement, but it may not be enough for a nemesis skill.
Often, the best way to break through a nemesis skill is to do it on the apparatus, but with a whole new approach.
There are a lot of different ways to approach nemesis skills, but we think changing things up is better than simply repeating the same thing over and over. Almost always, what is keeping a student from getting a nemesis skill is either a specific muscle weakness, missing some key mobility, not understanding a pathway, or not feeling safe enough to make the skill happen.
If the teacher can identify the exact problem, it can save time, but we also feel, if the teacher knew the exact problem, they would have solved the students issues already. So, we don’t worry too much about exactly what is the source of the problem, because it is likely to be a little bit of all of them, and we use the same technique regardless of the source of the problem.
Our nemesis skill class plan follows this general structure.
Let’s dive into more details.
Video isn’t absolutely necessary. We have some students who don’t use smart phones or don’t like videoing themselves. We encourage them, but we never make them use video. Keep in mind that watching video, especially of oneself, is a skill. You as an instructor may think it is obvious where to look in the video, but the student may be looking at the wrong things. So we always watch the video with them and tell them what we see. If they are not using video then they’ll need to be really good at feeling what is happening during the skill.
A good full body warm up is always important before getting on the apparatus. Then we have students do some extra warmup on the body parts and pathways they will use in the nemesis skill. This isn’t the time to get better, that comes next in class. At this time we want our students to find and feel the muscles and motions they will be relying on in the upcoming drills.
We then move into the drill part of the class. There is a conditioning section in class later, so we focus most of these drills on timing, coordination, and pathway. It is okay if there is a conditioning drill here, but students will likely get too tired to make the most of the whole class if they do too much conditioning too soon.
We spend a lot of time with the skills ourselves before class in order to break down the skills into as many micro-components as possible. Then once we identify as many parts of the skill as we can, we spend more time creating drills to help students tap into those small parts.
The nemesis skill class is a great place to try some new things. We often warn students that we may be using this drill for the first time because it’s customized to them. It is really important that you are certain the drill won’t be unsafe or hurt the student. The warning to the student is about how well the drill will work. Not about how safe it is.
We often find ways to incorporate resistance bands, piles of mats, other props like sticks, small weights, soft balls and anything else we have around the studio. We also try new light spotting techniques. Keep in mind the props and spotting should not be used to force the student into a shape or skill or do all of the work for them. The experiments are intended to help students tap into their own bodies and figure out how to do the work themselves.
We have found that creating drills that feel more like play and less like an assignment can be really successful. Adding playfulness can help change the student’s relationship to the skill. This can help them spend more time in the drill and feel more optimistic about eventually achieving the skill. Laughing and having fun is also a way to help students get out of over-thinking a skill and tap more into just doing it without the analysis paralysis.
We like students to attempt their nemesis skill after working on drills, and take video of themselves. We warn them that they are already tired from all of the drills, so we don’t necessarily expect them to succeed. But we do want them to try the skill and incorporate what they learned from the drills. They need to do more than the drills, they also need to learn how to apply the drills within the skill itself. Then we watch the video with them and point out what we see.
The end of class is a great time to max students out on conditioning. It can be on apparatus or ground drills, but they should still be customized for the nemeesis skill. We have also found that building endurance strength is often more useful than max strength. So an easier drill that is done longer is often more useful than a really hard drill that is only done for a short time.
We plan our regular classes to not overuse one body part or group of muscles because it can create imbalances in students. We want them leaving class feeling like they worked their whole body. Focusing on nemesis skills means that students may spend an hour working on one part over their body and it may make them feel a little overwhelmed. A cool down that works the opposite muscles or an opposite direction of effort as the nemesis skill can help students feel more balanced and ready to train again the next day.
We give students Nemesis Skill Worksheets. The worksheets list each drill and then give students a place to rate the skill and write a comment. Ironically, the drills that students don’t understand or think are really hard are going to be the best clues for how to proceed. The drills they think are good may just be the ones they found easier and are therefore the ones they probably don’t need to improve.
We’ve created worksheets to help facilitate communicating with our students. These worksheets are actually for the teachers, so the more feedback the students can write down the more effective they will be.
Download the PDF worksheet:
This document is available to our Free and Paid Members. Join now or log-in to view and download this document.
Leading students through their nemesis skill can be an amazing experience and develop deep bonds. It requires good communication. We tell our students about why we think they haven’t been able to succeed and why we think we haven’t succeeded at helping them. Teachers have weaknesses too. We encourage our students to be curious about why the skill doesn’t work. We ask them for their understanding that if we knew how to solve the problem for them we would have done it already and so they should remember as we suggest new customized drills, we are expressing our curiosity and creativity which can be intimidating. We work as partners to stay motivated and optimistic because both sides of the relationship take a lot of energy and trust.
We’ve just scratched the surface of sequences in the previous blog about “Teaching Sequences”, and in our next blog post we’ll dive into “Performing Sequences”! When we coach our students to perform they suddenly feel like they’ve entered a whole new realm, because once a strong foundation is there then we can safely start breaking some of the rules and bringing personality into the movement style. Check back next month to learn more about our coaching tips for performing aerial.
Aerial Fit Online Members see all of these connections when they’re logged into any skill’s page.
Not yet a member? Join us today!